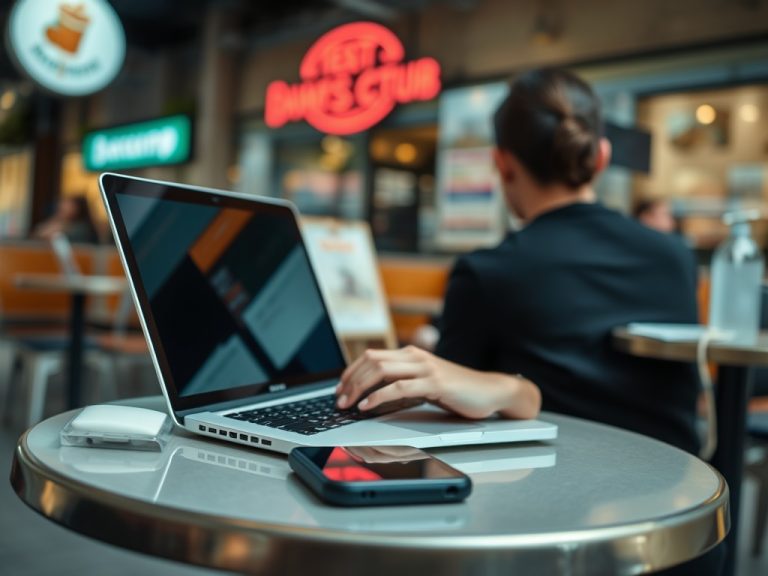
A good webcam and microphone setup is not only about buying sharper hardware. The best result comes from matching device specs, room conditions, privacy permissions, app settings, and support for the way you actually meet, record, teach, stream, or interview.
Buying and Setup Signals
- Upgrade the microphone before the camera if people complain that they cannot hear you clearly.
- Check operating-system permissions before blaming the device.
- Match the webcam field of view to your room, not to a marketing spec sheet.
- Test in your real video app before the first important call.
Define the Use Case Before Comparing Specs
Start with the main job. A remote worker needs reliable video calls, stable autofocus, and clear voice pickup. A teacher may need a wider frame, screen-sharing comfort, and a microphone that handles movement. A creator may need manual controls, lighting flexibility, and a cleaner audio path. A support agent may need consistency more than cinematic quality.
A device that looks impressive on paper can be wrong for the room. A wide-angle webcam may show clutter in a small apartment. A very sensitive microphone may pick up keyboard noise in a shared workspace. A high-resolution camera may not help if the video platform compresses the feed or the lighting is poor.
Check the Platform Permissions First
Many webcam and microphone problems are permission problems. Windows lets users control which apps can access the camera and microphone, and Microsoft publishes official guidance on camera, microphone, and privacy settings. Firefox also lets users allow or block camera and microphone access at the site level, as explained in Mozilla’s support page on camera and microphone permissions. On Mac, Apple explains how users can decide which apps can use the camera through Privacy and Security settings in its guide to camera access on Mac.
Before buying new gear, test the built-in device inside your actual meeting app. If the app cannot access the camera, a better camera will not fix the underlying permission block. If the browser blocks microphone access for one site, a new mic will still fail in that browser session.
Hardware Review Checklist
| Item to review | Why it matters | Practical target |
|---|---|---|
| Microphone pickup pattern | Controls how much room noise enters the call | Directional or headset mic for noisy spaces |
| Webcam field of view | Determines how much of the room appears | Narrower for solo calls, wider for groups |
| Mounting style | Affects angle and stability | Clip, tripod, monitor arm, or laptop mount |
| Connection type | Impacts compatibility and desk layout | USB-C, USB-A, or adapter plan |
| Privacy cover or mute control | Reduces accidental exposure | Physical shutter and easy mute button |
| Driver/app support | Affects updates and controls | Vendor support for your OS version |
Sound Usually Matters More Than Video
People tolerate average video more easily than unclear sound. If your budget is limited, prioritize a better microphone, quieter room, and stable placement. A USB microphone, wired headset, or quality earbuds can outperform a laptop mic in echo-prone rooms. The best choice depends on how much you move and how visible you want the microphone to be.
Avoid placing the mic directly beside a mechanical keyboard, fan, or speaker. Keep it close enough for natural voice level, then lower input gain so the mic does not amplify the entire room. Record a 20-second sample before meetings and listen with headphones. This habit catches hum, clipping, echo, and muffled placement faster than guessing.
Camera Quality Depends on Light and Framing
A modest webcam can look good in soft front-facing light. An expensive camera can look poor with a bright window behind you. Place the main light in front of you or slightly to the side. Keep the camera near eye level, and leave a little space above your head. If the camera auto-exposes for a bright background, your face may look dark.
For privacy, review the background before every important call. A blurred background can help, but it can also create visual artifacts around hair, hands, and chairs. A simple physical background often looks more professional and requires less processing power.
App Settings to Test Before a Real Call
Open your usual meeting, recording, or streaming app and confirm four settings: selected camera, selected microphone, selected speaker or headphones, and noise suppression level. Some apps remember settings per device, while others reset after updates. If you move between a laptop dock, headset, and external monitor, test the setup after each change.
This is also a good moment to review adjacent digital setup topics. A webcam and mic upgrade can be undermined by too many launch-at-login tools, so the comparison of startup apps vs background services is worth reading if your calls begin slowly. For privacy-sensitive meetings, this site’s guide to VPN connection basics can help clarify what a VPN protects and what it does not.
Warning Signs That You Need an Upgrade
An upgrade makes sense when your current device cannot maintain focus, produces distorted audio, fails to work reliably after permission checks, lacks compatible drivers, or does not physically fit your setup. It also makes sense when your work has changed. A person who only attended calls may now host webinars, record courses, or run client interviews.
Do not upgrade because a spec number sounds higher. Upgrade because a real problem remains after testing permissions, lighting, placement, and app settings.
Pre-Call Setup Routine
- Connect devices before opening the meeting app.
- Confirm app permissions at the operating-system and browser level.
- Select the correct camera and microphone inside the app.
- Record a short sample and listen back.
- Check background, framing, lighting, and mute controls.
- Close unnecessary apps that may use the camera or microphone.
Ready-to-Buy Confidence Check
Buy or upgrade only when you can explain the problem in one sentence: “My room is noisy, so I need a directional mic,” or “My laptop camera sits too low, so I need an external webcam on a stand.” That clarity prevents impulse purchases and leads to equipment that improves real calls.
Accessibility and Comfort Checks
A setup is not complete until it works comfortably for the people using it. Captions, clear audio, stable lighting, and predictable mute controls help participants who are hard of hearing, joining from noisy spaces, or using smaller screens. If you present often, test how your gestures, slides, and shared screen appear to others. A slightly lower-resolution camera with better audio and framing can create a better meeting than a sharper image that distracts viewers or makes speech hard to understand.