For an older home, the best energy-saving upgrades usually start with diagnosis, air sealing, and insulation before moving to major equipment or window replacement. The right sequence depends on climate, the home’s construction, moisture conditions, existing systems, and how much of the building is already being renovated.
Upgrade Order: Begin with a home energy assessment. Address obvious air leakage and insulation gaps where appropriate, then evaluate ducts and heating or cooling equipment, water heating, controls, lighting, and windows. Coordinate improvements so one project does not create moisture, ventilation, or compatibility problems for another.
Diagnose before buying expensive equipment
Older homes often have multiple energy problems at once: air leaks at the attic and foundation, uneven insulation, older heating equipment, leaky ducts, inefficient lighting, and windows that are uncomfortable in certain weather. Replacing the most visible item first is not always the most effective sequence.
The U.S. Department of Energy recommends a home energy assessment as a starting point for identifying where a building is losing energy. A professional assessment can use tools such as blower-door testing and infrared imaging, while a homeowner can also conduct a basic visual assessment.
Diagnosis matters because comfort complaints can have more than one cause. A cold room may reflect air leakage, insufficient insulation, duct imbalance, window performance, or a heating-system issue. Spending heavily on new windows will not fix an uninsulated attic or disconnected duct.
Air sealing is often the first building-envelope move
Gaps around plumbing penetrations, attic hatches, rim joists, wiring, recessed fixtures, doors, and window rough openings can allow uncontrolled air movement. DOE identifies caulking and weatherstripping as basic air-sealing methods, while larger or concealed gaps may require other materials and professional work.
Air sealing can improve comfort and reduce heating and cooling loads, but it should be done with moisture and ventilation in mind. A very leaky home may have been receiving accidental ventilation through cracks. Tightening the enclosure without considering combustion safety, exhaust fans, and indoor-air needs can create new issues.
If windows are drafty, begin with maintenance and diagnosis. This guide to maintaining window screens, tracks, and seals helps separate routine sash and weatherstripping issues from problems that may involve the installation or wall assembly.
Add insulation where the home is actually deficient
Attics are often a practical place to improve insulation because they may be accessible and because heat transfer through the top of the building can be significant. The correct insulation level depends on climate zone, existing construction, local code, and the condition of the attic.
The ENERGY STAR Home Upgrade program identifies a well-sealed and insulated attic as one of its core home-improvement categories. The sequence is important: air leakage paths are commonly addressed before adding insulation that would hide them.
Wall, basement, crawl-space, and floor insulation can be more complex in older houses. Historic wall assemblies may dry differently from newer construction, and adding insulation without understanding water entry or vapor behavior can trap moisture. If a wall is already being opened for another project, that can be the right time to evaluate insulation and air sealing together.
Seal and inspect ducts before assuming the HVAC unit is the problem
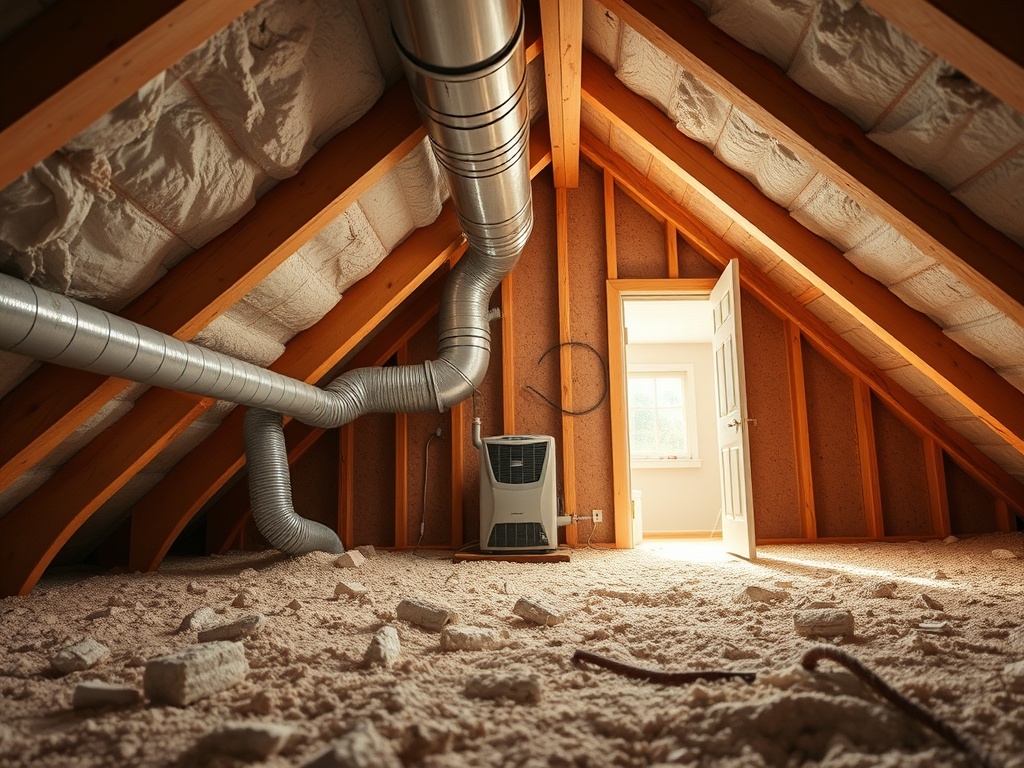
Homes with forced-air systems can lose energy through duct leakage or poor insulation, especially when ducts run through attics, crawl spaces, garages, or other unconditioned areas. Visible disconnected joints, crushed flex duct, or damaged insulation deserve attention.
A qualified HVAC professional can test duct leakage, airflow, and equipment operation. Sealing accessible joints with appropriate duct-sealing materials can be useful, but avoid ordinary cloth “duct tape” as a long-term repair for HVAC ducts unless it is specifically rated for the application.
If rooms remain uncomfortable after envelope and duct issues are addressed, equipment sizing and distribution become easier to evaluate. A tighter, better-insulated house may need a different heating or cooling capacity than the same house did before improvements.
Upgrade heating and cooling when the system is old or inefficient
Heat pumps, high-efficiency furnaces or boilers, and improved controls can reduce energy use, but the best technology depends on climate, fuel availability, electrical service, ductwork, household priorities, and the condition of the building envelope.
ENERGY STAR includes certified heat pumps as a major home-upgrade pathway, and DOE provides broader consumer guidance for efficient heating and cooling. For an older home, ask the contractor to consider the post-upgrade heating and cooling load rather than automatically replacing equipment with the same capacity as the old unit.
If the home uses combustion equipment, air sealing and mechanical upgrades should be coordinated with combustion-safety considerations. Local code and qualified professionals matter because venting, gas supply, clearances, and electrical requirements are system-specific.
Treat windows as a comfort and performance decision
Windows are important, but whole-window replacement can be expensive. Before replacing intact windows solely for energy savings, examine air leakage, weatherstripping, storm windows, glazing condition, shading, and the rest of the enclosure.
DOE explains that window performance depends on frame materials, glazing, low-emissivity coatings, gas fills, spacers, and operating type. Its window technology guide also notes that operable windows can experience increasing air leakage as weatherstripping and seals age.
New windows may be justified by rot, failed units, poor operation, major remodeling, comfort goals, or combined performance benefits. The decision should consider those factors rather than a guaranteed payback claim.
Use controls and lighting for lower-disruption gains
Smart or programmable thermostats can reduce unnecessary heating or cooling when their schedules match the household and the HVAC system. Controls are not a substitute for a poorly performing building envelope, but they can be a useful layer after basic problems are addressed.
LED lighting is another relatively simple upgrade, especially in frequently used fixtures. Choose lamps and dimmers that are compatible, select color temperature based on preference and task, and use enclosed-fixture-rated products where required.
For resilience, efficiency and preparedness can overlap. These backup lighting options for power outages help cover safe movement when efficient permanent lighting is unavailable.
Compare upgrade paths by budget
| Budget level | Strong candidates | Why they are often considered |
|---|---|---|
| Lower | Weatherstripping, targeted caulk, LED lighting, basic controls, pipe insulation | Limited disruption and useful incremental gains when correctly applied |
| Medium | Attic air sealing and insulation, duct sealing, professional energy assessment, storm-window improvements | Can address underlying envelope or distribution losses |
| Higher | Heat pump, water-heater replacement, major window work, wall insulation during renovation | Greater cost and coordination, often best when existing equipment or assemblies are already due for replacement |
The table is a planning framework, not a ranking. A low-cost measure is not automatically the first priority if the home has a failing roof, active moisture problem, unsafe electrical condition, or malfunctioning heating equipment.
Coordinate older-home upgrades with safety work
Older houses can contain lead paint, asbestos-containing materials, knob-and-tube wiring, outdated panels, combustion appliances, or other conditions that change how energy work should be performed. Do not cut, drill, or insulate around unknown hazards without appropriate evaluation.
If you are deciding who should open walls, install equipment, or alter building systems, use this guide to choose between DIY, handyman, and contractor help. EPA’s lead-safe renovation guidance is particularly relevant for projects that disturb paint in pre-1978 homes.
The best upgrade package is usually the one that solves verified problems in a sensible sequence. Start with information, protect the building from moisture, tighten and insulate where appropriate, then size and select equipment for the improved home rather than the old one.
This article is for general educational purposes. Energy, electrical, HVAC, combustion, moisture, historic-building, environmental-hazard, permit, and code decisions may require qualified local professionals.